Starting a New Sequence
My last post about sequencing went hard in the paint on the why but didn't really touch on the how. As you may recall, this blog is more of a record of what I did or am doing instead of a how-to. Thus, the lecture should be followed with lab work. So roll up your sleeves; we're gonna jump into sequencing!
First, choose a song. Any song will do, but it will be easier if it's a song with a regular beat that doesn't change tempo. I'm going with Get the Party Started by P!nk . Feel free to question my taste, but I like this song.
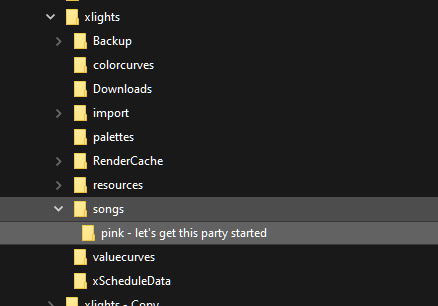
Download the mp3 to your computer, and please do this legally, especially if it's a holiday song. I'll have another post about directory organization soon, but really quick, inside my xlights directory, I have a directory called "songs" and, within that, a separate directory for each of the songs that I am sequencing; I put the song, videos, and save the sequences there. This may not be best practice; we'll find out later though, and it seems to work so far.
To create a new sequence, open xLights, navigate to the Sequencer tab, and click "New Sequence". It's the yellow page lookin' icon in the upper left. You can also find it in the "File" menu, or using the keyboard shortcut ctrl+n (probably cmd+n on Mac, but I haven't installed xLights on my Mac yet);
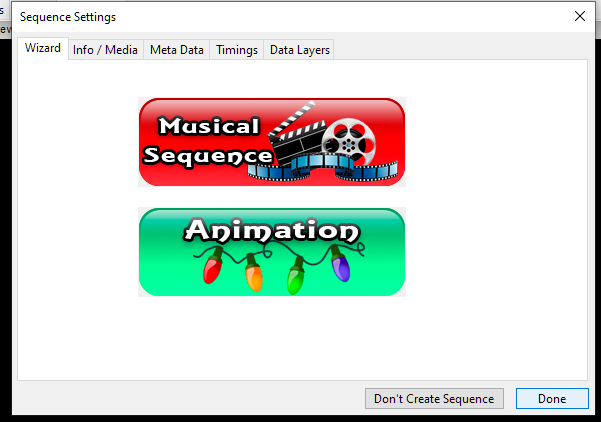
First thing you'll get is a dialog asking if you want a "Musical Sequence" or an "Animation". The latter is just pretty light patterns which aren't set to music; you can totally do a show using this, use animations between sets, on holidays where there aren't as many songs, if you have only a few lights, etc. For this, we'll be syncing with music, so choose the "Musical Sequence" option. (Note; there are other tabs on this dialog; we're ignoring them as you don't need to play with them) You will be prompted to select a song; find the one you downloaded and open it.
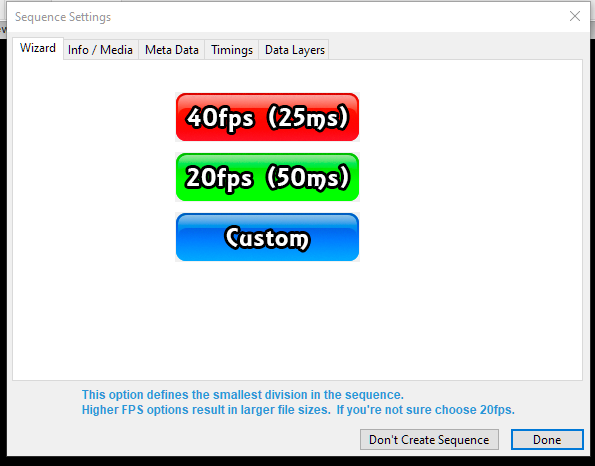
Now you'll be asked to select either 40fps or 20fps for the framerate (the millisecond number in parenthesis are how many milliseconds each frame is allotted). Well, you can define the fps manually using the "Custom" button, but 40 and 20 are fine values; I wouldn't use Custom unless you have a reason.
40fps will give you smoother gradations and transitions between colors, along with being able to more closely time effects with the beat in the song. However, it comes at the cost of file sizes which are twice as large which can be a bad thing. From what I've heard, 20fps is a fine option unless you know that your hardware (pixel controllers, animation player, network gear) can handle the larger file sizes. One example is that, if you choose to use 40fps, you have a limit of 680 pixels per port on the Falcon controllers, as opposed to the possible 1024 which each port can handle at 20fps. I've spent many days (over a week?) diving into this and planning accordingly, so I'm choosing 40fps.
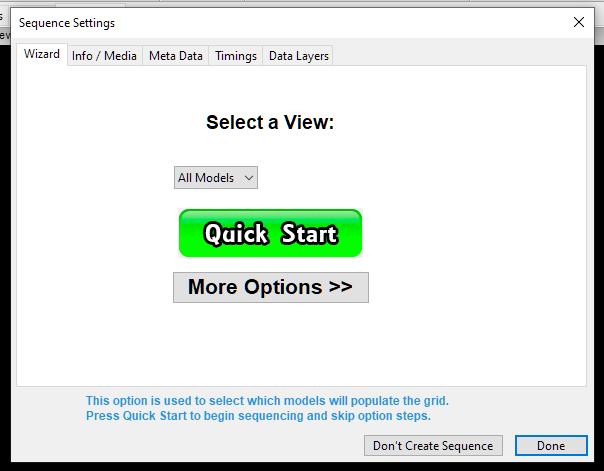
Finally, you are prompted to select which models you want included from the start, then you can either "Quick Start" or go through "More Options". For the models, you can always manage which models are visible/controllable in the sequencer after the fact; I generally choose to start with empty because it's easier to add a dozen or two groups/models than to remove three or four dozen models I'm not going to use individually.
I genuinely have no idea what is under "More Options"
... clicks through
Hmmm, import sequences from other programs (or xLights), edit the metadata, import timings. All stuff we're not going to super worry about for this sequence. Cool, so just click the "Quick Start" button.
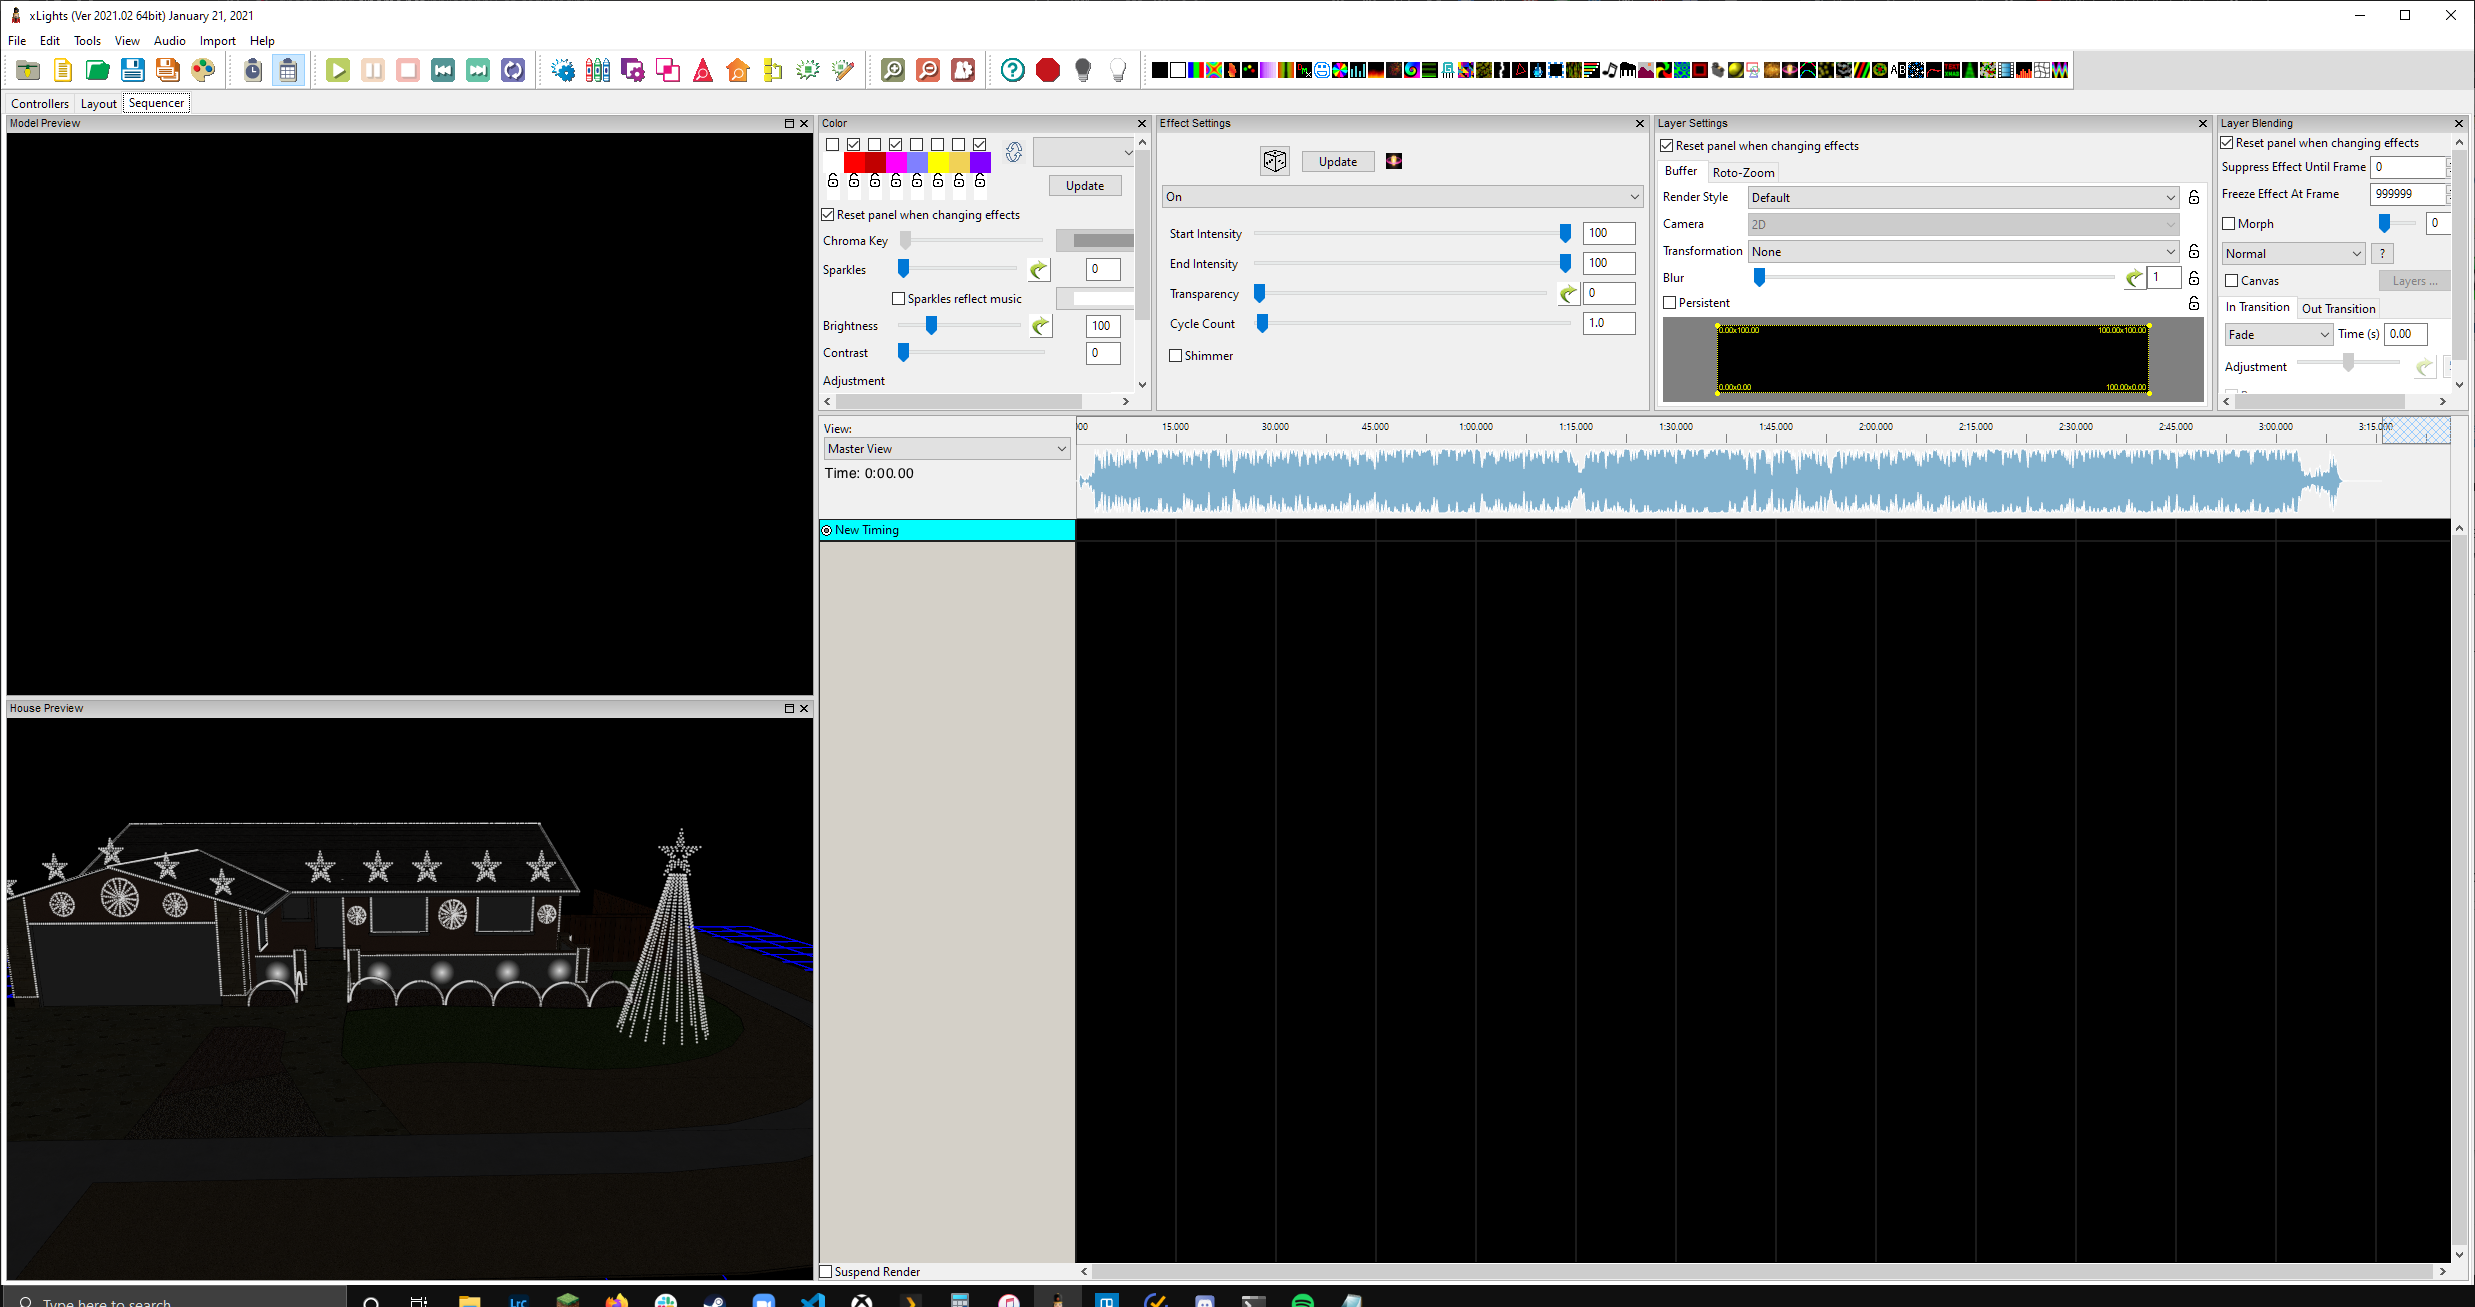
Okay! Now we do something which everyone online says to do: as soon as you open a sequence, save it right away; the reaosn they say this is saving kicks off a rendering pass. It will do nothing in this case but save the sequence; however, it's good to have something to quick save to; thus save it (I save it right next to the music file in my songs directory).
Awesome, now we have a blank slate!
Coming up in the next few posts, we'll get into managing the models which we are going to control in the sequencing pane, set up timing tracks to better syncronize and lay out our effects, then start putting down some effects. Exciting stuff!

