Putting Up the Lights
Okay, I'll be honest with you. I hate the xLights 3D editor. The few redeeming qualities I find in it include "I didn't program the thing" and "it hasn't yet actively tried to murder me". If developers of xLights stumble across this post, I am very sorry; I have an incredible amount of respect for the work that you did with this as a labor of love, but this just does not agree with me at all. Also, I'm perfectly willing to admit that it may just be me.
All that said, lemme break it down.
Since I don't have any idea how I'm going to control this display yet, I'm still getting an idea of how much stuff I want to get, and I just kinda want to see some shiny stuff, I'm starting with the "Layout" section in xLights.
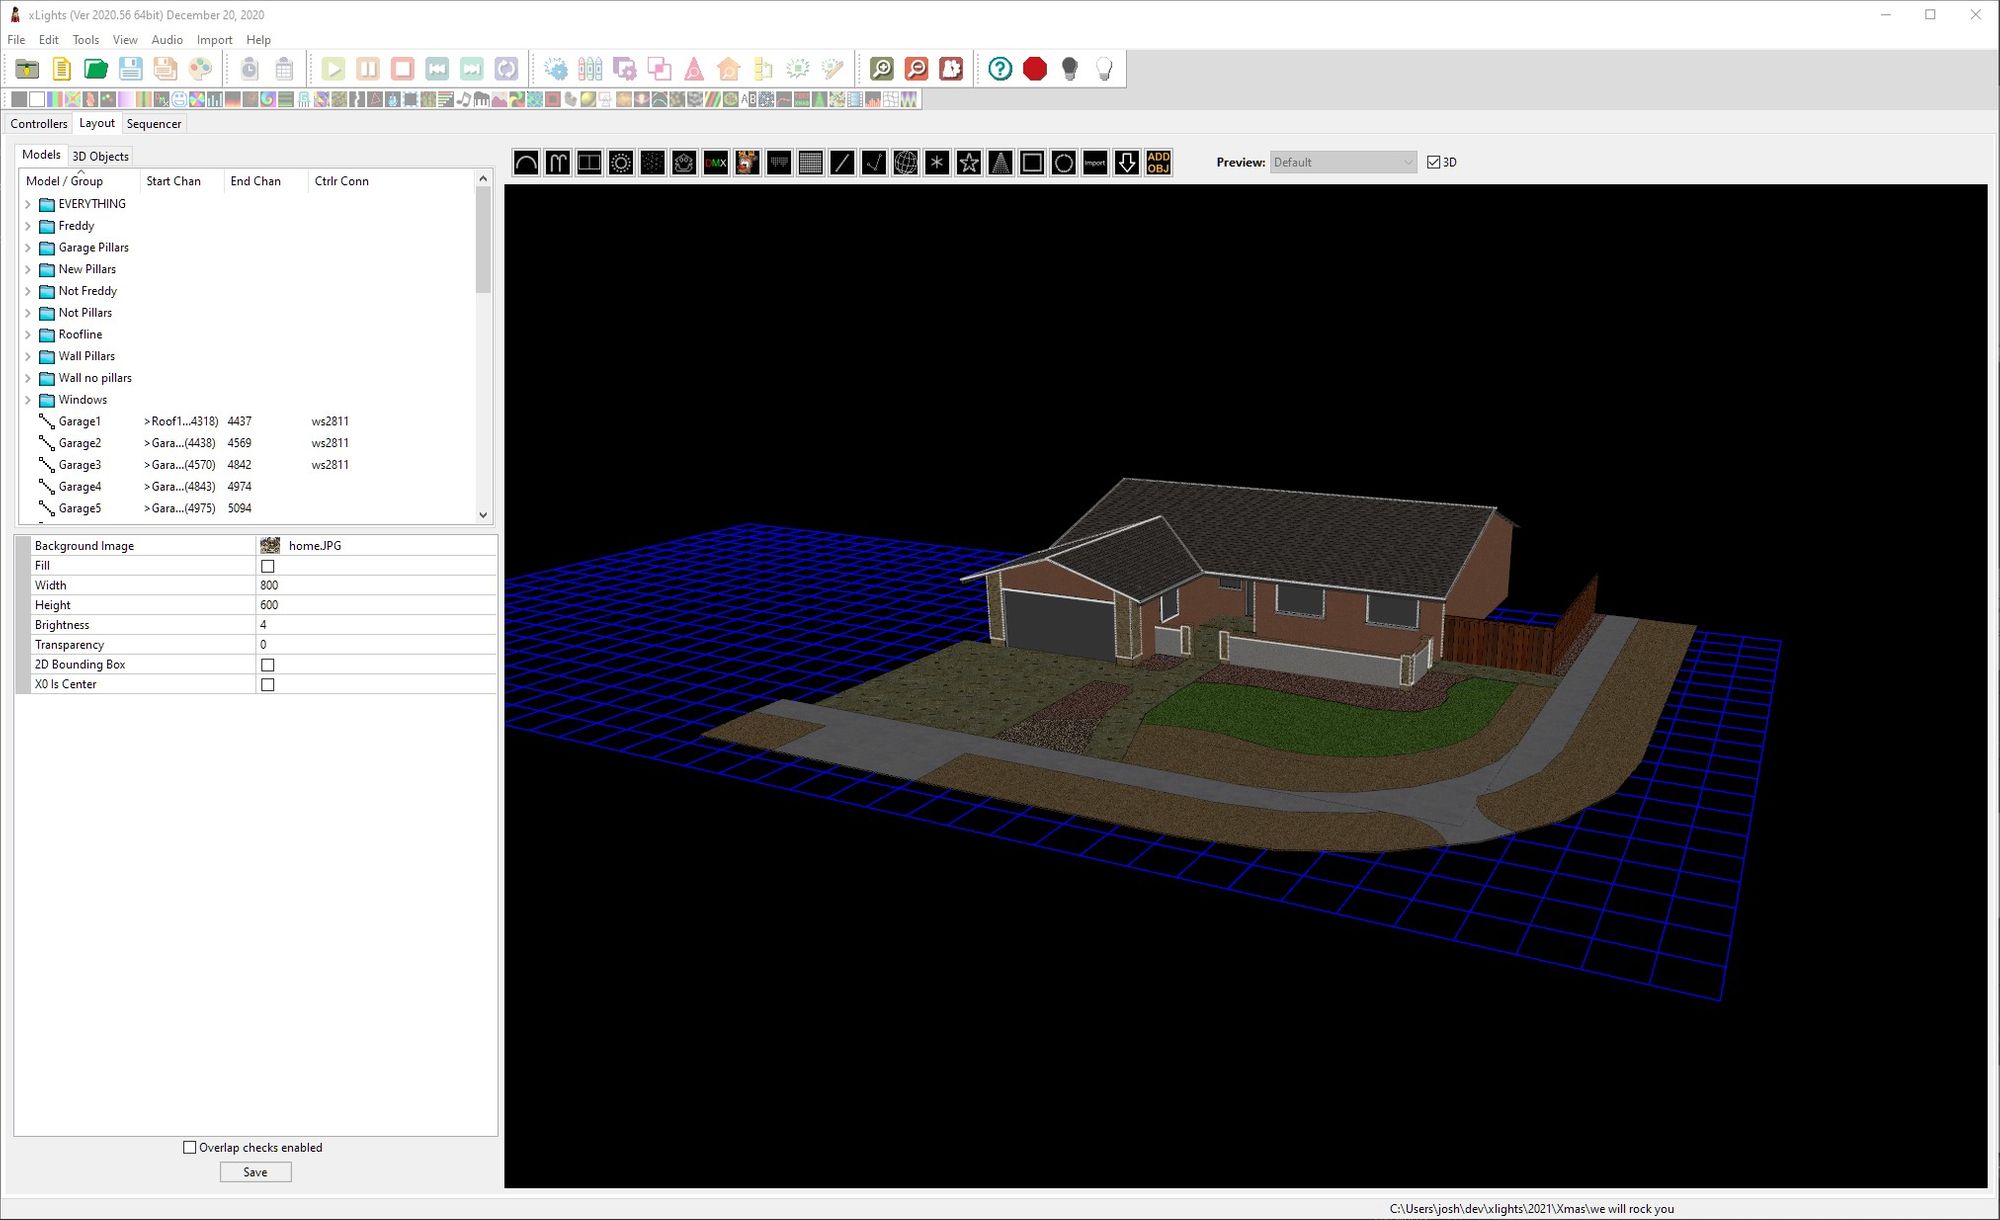
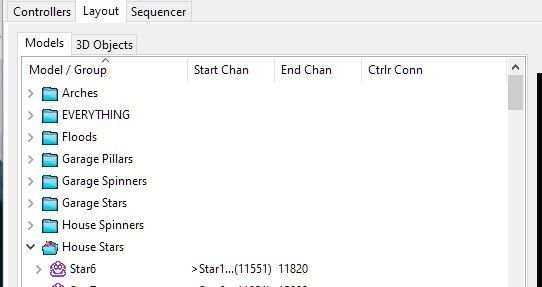
On the left on the top, you have a list of all the models which exist in the layout, with the groups on top (I'll get into groups later; they're pretty neat). Below that is the properties panel for whichever model/group is highlighted. There are only a handful of fields which I've touched in the lower part of the panel, so I'm not incredibly familiar with what everything does, but it seems pretty easy to use.
You also have two tabs: one for "Models", and one for "3D Objects". The only things on the latter tab are the house and the grid. I haven't seen anything which indicates I need to put more on there, so I'll just ignore it for now.
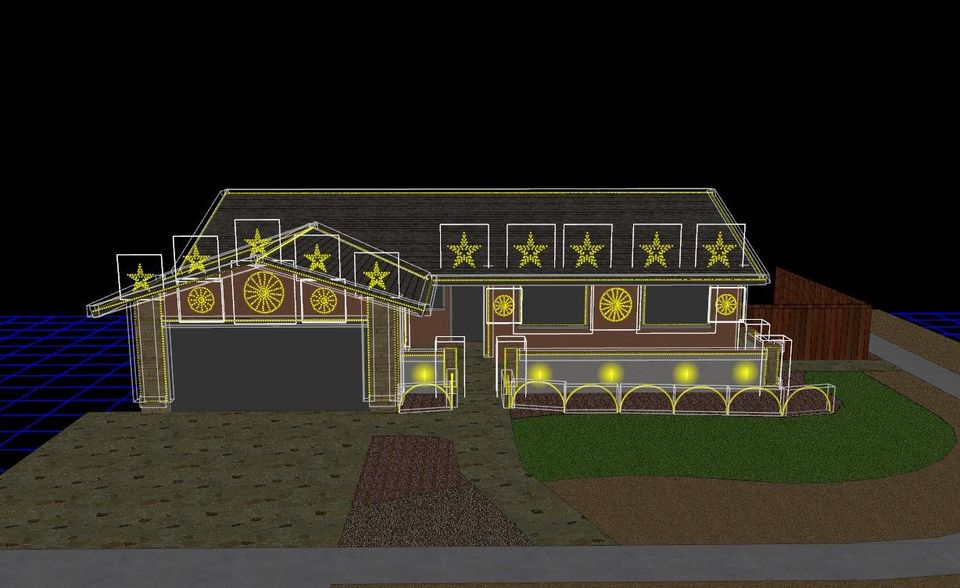
On the right, is the display with all the models you have. As an example, in the above image, the white lines at the edges of my roof are models of strands of lights. if you highlight them, they turn bright yellow so you can see which thing is selected.
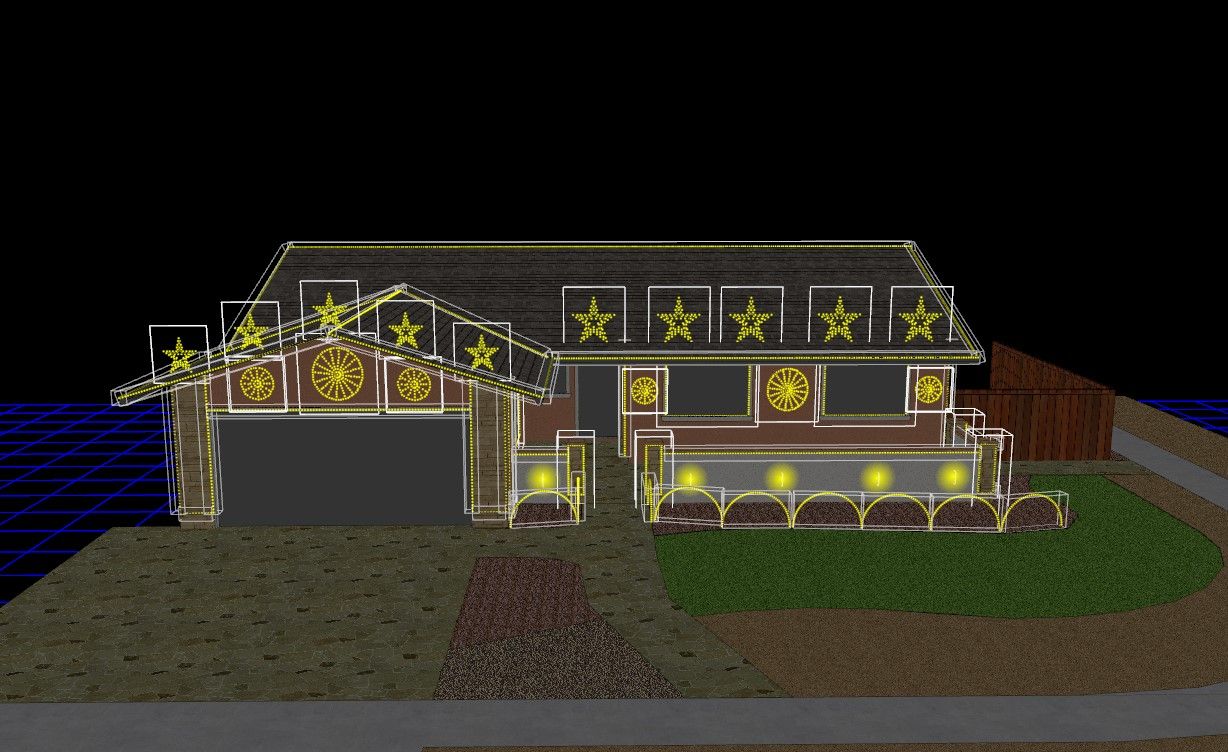
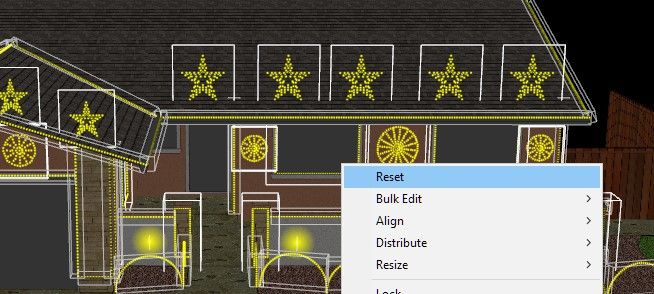
Controlling the view is a bit interesting. Holding down the left click button and moving the mouse will rotate around the center of the screen. Scroll wheel on the mouse will zoom; clicking and holding the scroll wheel (or middle mouse button; on mine that's the same thing) will pan the camera without rotating. However, I will add that this works most of the time; sometimes it seems that the view gets confused so doing the above actions no longer works as expected. Fortunately, there is a command which will fix that. If you right-click, you get the option to "Reset" your view; this works wonders.
To create a new model, select one from the list of models above the layout view (the one which has icons for arches, candy canes, etc).

After that, you click and drag the model onto the view. This will not put the model where you want it; it'll end up somewhere in arbitrary space. I have found no way around this happening, so just accept it and expect that this will happen.
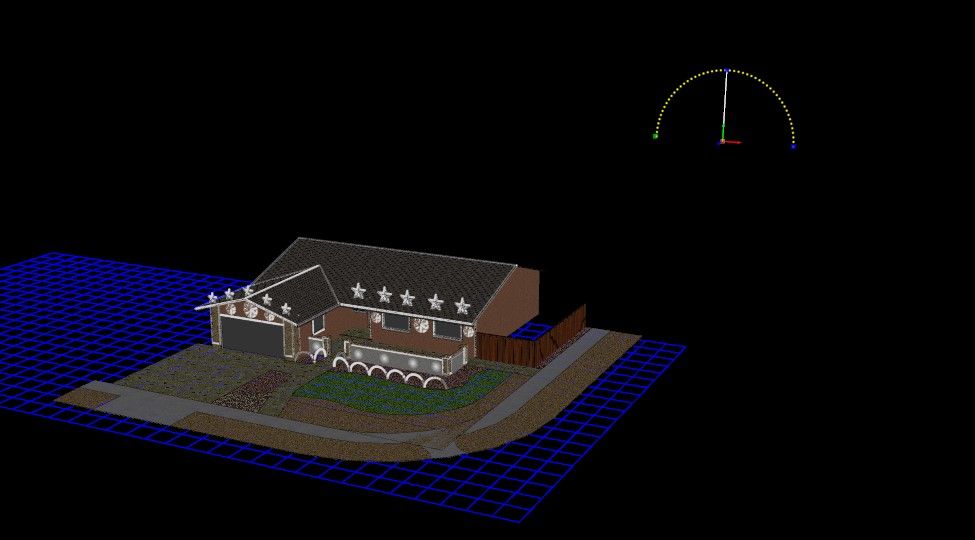
From here, you can move the model to where it needs to be. In order to do that, let's take a closer look at the model.
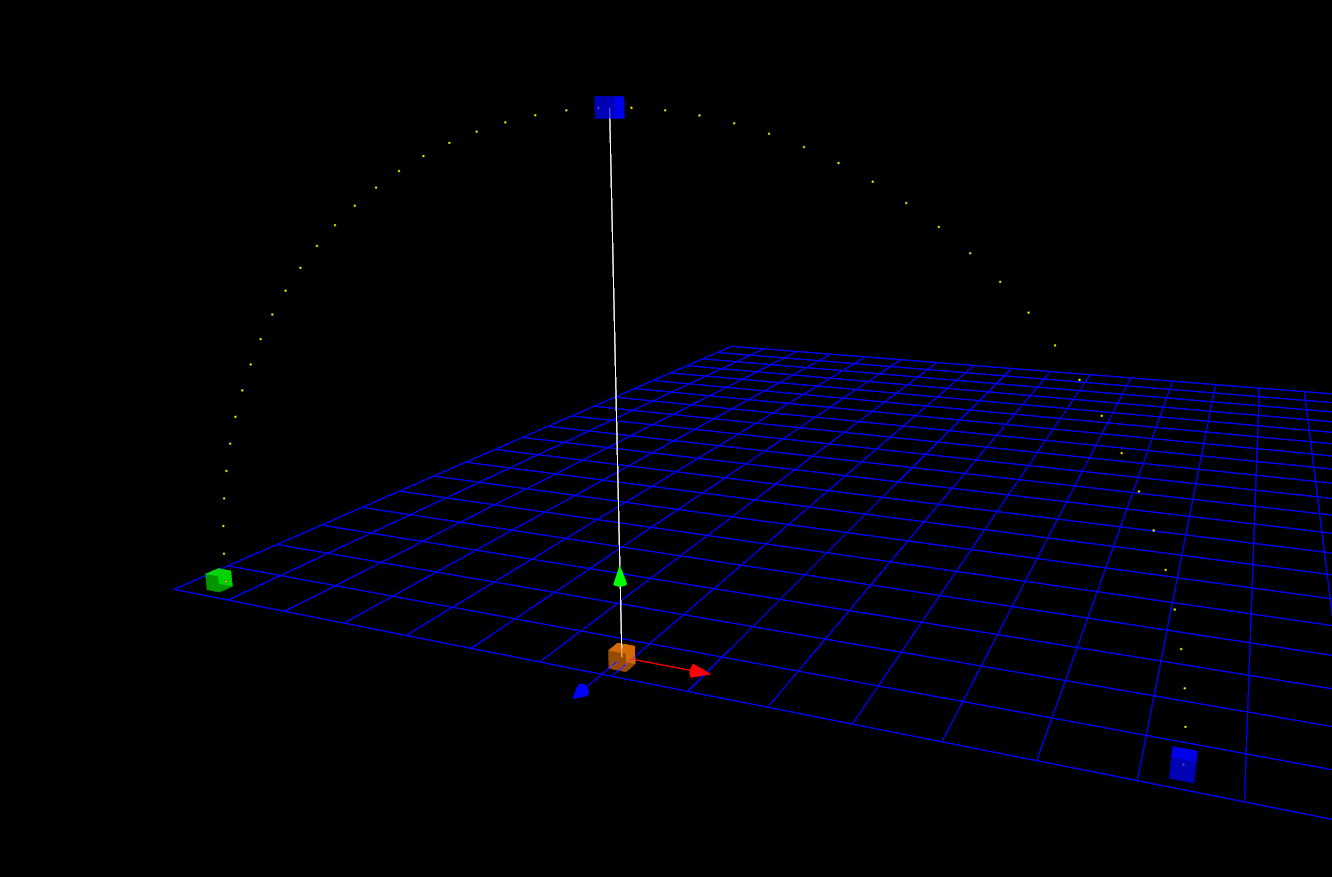
No particular reason I chose an arch beyond "it's the first one", but it has enough info. There are two separate concepts to take in here.
First, there's the different colored cubes. The orange one is the main anchor point and is roughly in the center of the model. The green one and the blue one opposite are the start and end of the line, respectively; you mainly use these when connecting the models to controllers to tell them where the first and last pixels in the model are so it doesn't get rendered backwards.
Second, there's the different colored arrows coming out of the orange cube in the model above. Those are your controls and how you manipulate the model. In the picture above, the orange cube has arrows coming out of it, one color for each of the three axes in 3D space. If you grab the green arrow, for instance, you'll be moving the model up and down.
You can change which cube you're manipulating by clicking on any of the other cubes (the cube above the orange is unique to arches, so ignore it for now). So if you click on the green cube, the arrows will be coming out of it and you can then move the green cube while the blue cube opposite stays in place.
Clicking multiple times on the cubes will display different manipulation tools. The triangular arrows move the model, square arrows scale the model (make it bigger or smaller), and square arrows with circular guides rotate the model.
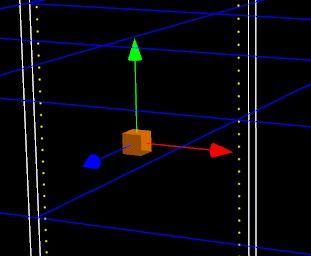
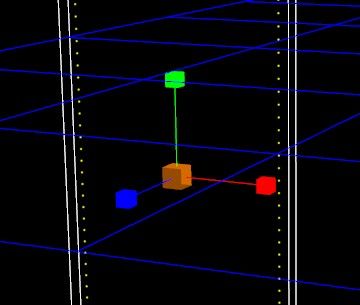
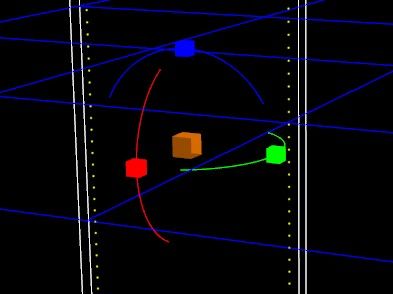
The idea here is to use these tools to move the model you've created into its intended place. Since nothing snaps to any edges, this involves a lot of rotating the view to see from different perspectives, tweaking here and there, etc. But, as I mentioned in the last post, you don't need it to be perfect; this is just a model by which you can get an idea of what it looks like. This program has been around for years without a 3D modeling view, so you'll be fine if stuff is a bit off, as long as it looks basically correct from the intended viewing angle.
Then, it's just rinse and repeat as many times as you have models. I ended up with 66 models for my house; that feels like a lot, but I used straight lines instead of, say, polylines for all the roofline and stuff, so there's probably some improvements I could make.
In the next post, I'll get into the properties section for the models, where you can do things like change the number of lights, rename them, do some modifications with the controllers, etc.

